Don’t Buy Seeds: How to Propagate Grocery Store Vegetables
Stop wasting money on commercial seed packets. Learn how to easily harvest, clean, and propagate viable seeds directly from grocery store produce for a zero-cost garden.
The Zero-Cost Seed Blueprint
Goal: Extract, process, and successfully grow viable seeds directly from store-bought produce.
Best Targets: Heirloom tomatoes, open-pollinated peppers, organic melons, and legumes.
Core Saving: Reclaims $4–$7 per seed packet while entirely bypassing commercial seed supply chains.
Yield Strategy: Maximizes urban food production by converting kitchen waste into active edible crops.
Don’t Buy Seeds: How to Harvest and Propagate Seeds from Grocery Store Vegetables
Stroll down the garden center aisle in the spring, and you will notice a quiet shift: basic seed packets that once cost pocket change are creeping closer to five dollars apiece. If you are trying to grow your own food to cut down on food costs, spending forty dollars on commercial seed packets before you even turn over a single spade of dirt feels completely counterproductive.
You do not need commercial packets to build a highly productive edible garden. The exact produce sitting in your kitchen crisper drawer right now is packed with perfectly viable genetic material just waiting to be unlocked. By learning how to select, harvest, clean, and test seeds from grocery store vegetables, you can establish a completely self-sustaining kitchen garden without spending a single dime on commercial seeds.
Can you actually grow plants from grocery store vegetable seeds? Yes. While standard hybrid produce will yield unpredictable results, organic, heirloom, and open-pollinated varieties from the grocery store contain highly stable, robust seeds. By extracting them correctly, cleaning away germination-inhibiting pulp, and running a quick moisture test, you can propagate them with a near-perfect success rate.
The Hybrid Trap: What Will (and Won’t) Grow
Before you start tearing open every vegetable in your refrigerator, you need to understand the basic biological rules of grocery store produce. Not all store-bought vegetables are created equal in the eyes of genetics.
Commercial produce generally falls into two distinct categories:
1. F1 Hybrids (The Wildcards)
Most conventional, uniform, mass-market vegetables are F1 hybrids. These are corporate crops bred specifically by crossing two distinct parent strains to achieve specific traits like long shelf life or uniform transport shape. If you harvest and plant seeds from an F1 hybrid (like a standard conventional supermarket tomato), the seeds will grow, but they will not grow “true to type.” Instead, the genetic traits break apart, leaving you with unpredictable, lower-yielding, or strangely shaped fruit.
2. Heirloom and Open-Pollinated (The Gold Standards)
Open-pollinated and heirloom crops are pollinated naturally by bees, wind, or human hands. Their genetics are stable. When you plant an open-pollinated seed, the resulting plant will be a nearly identical copy of the parent vegetable.
- How to source them at the store: Shop the organic section, look for labels explicitly reading “Heirloom” (common in tomatoes and peppers), or source fresh produce from local farmers’ markets where open-pollinated varieties are the standard.
High-Yield Targets vs. Absolute Non-Starters
To maximize your success rate, target vegetables with mature, easy-to-extract seeds while avoiding biological dead ends.
The Best Vegetables for Home Seed Harvesting
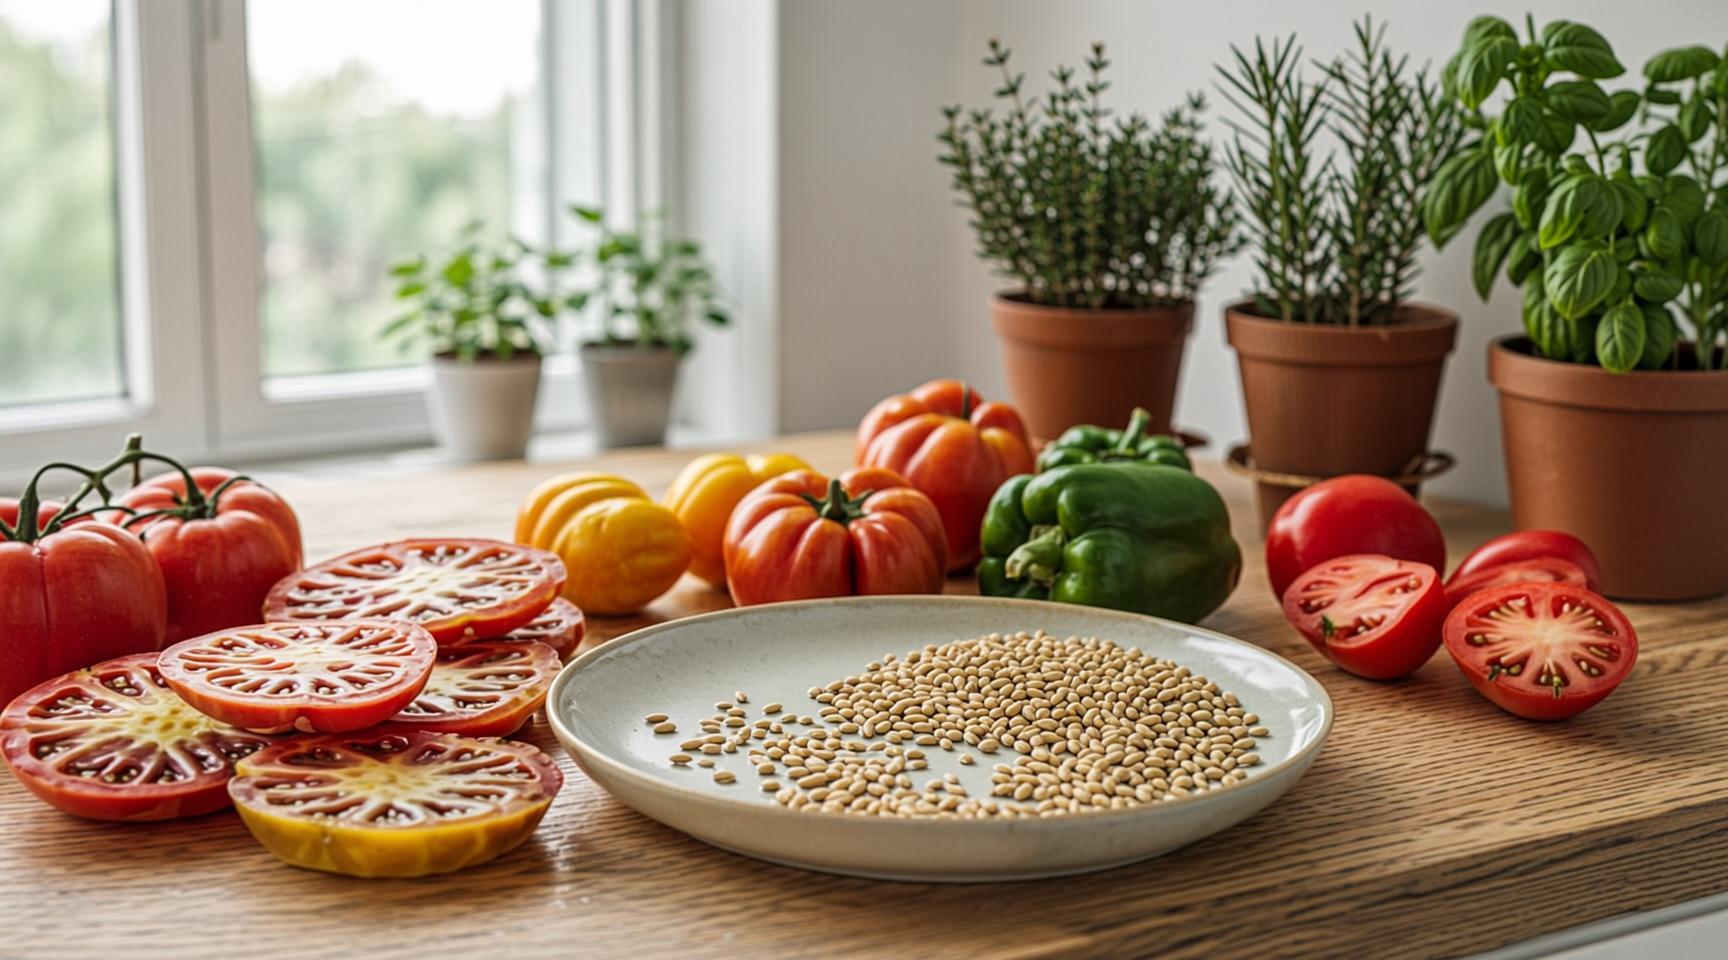
- Peppers (Bell, Jalapeño, Habanero): Exceptional choice. The seeds are already mature, dry, and completely separated from the flesh inside the seed cavity.
- Tomatoes: High viability. Even conventional store tomatoes sprout incredibly easily, though organic or heirloom vine-ripened clusters offer the best genetic stability.
- Melons & Squash: Watermelons, cantaloupes, pumpkins, and butternut squash hold hundreds of mature, large seeds that require minimal processing to store.
- Legumes (Beans, Peas, Lentils): Go straight to the dry goods aisle. A standard, low-cost bag of dry pinto beans, black beans, or whole lentils can be planted directly into the soil. They are simply dormant seeds.
The Non-Starters (Do Not Waste Your Time)
- Cucumbers & Summer Squash: Supermarket cucumbers are harvested when they are young and tender. If you cut one open, the seeds are soft, translucent, and biologically immature. They will rot in the dirt rather than sprout.
- Hybrid Seedless Varieties: Seedless watermelons or seedless grapes are triploid plants. Any tiny, vestigial white seed casings you find inside them are completely sterile.
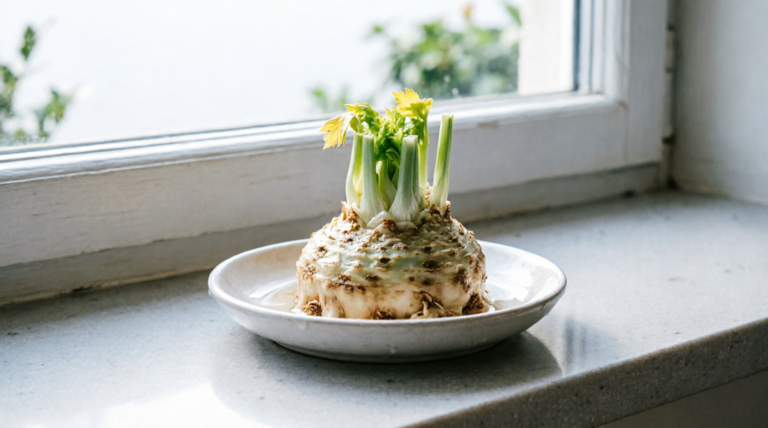
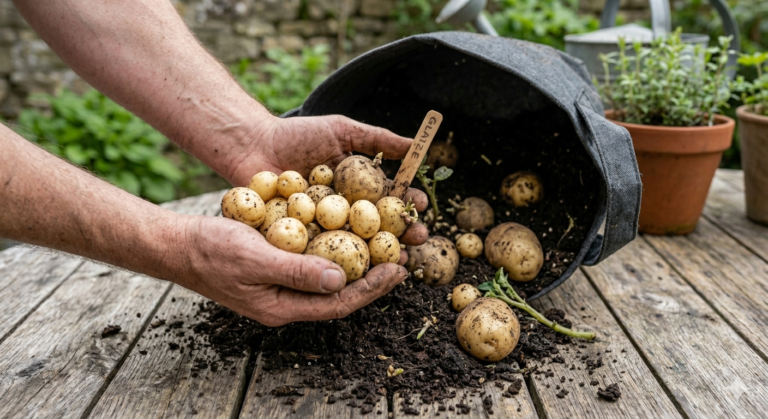
- Chemically Treated Root Crops: Conventional grocery store potatoes, sweet potatoes, and onions are frequently sprayed with synthetic growth inhibitors (like chlorpropham) to prevent them from sprouting on store shelves. Opt for certified organic roots if you want them to sprout.
Step-by-Step Processing Frameworks
Different seeds require different harvesting methods based on whether they are protected by wet pulp or naturally dry cavities.
The Wet Processing Method (For Tomatoes and Melons)
Tomato seeds are wrapped in a clear, gelatinous sac containing natural chemical inhibitors that prevent the seed from sprouting inside the wet, warm interior of the fruit. To get them to grow in soil, you have to break down this protective barrier using basic kitchen fermentation.
1
Extract the Pulp
2 mins
1.Extract the Pulp:2 mins.
Slice your ripe heirloom tomato or melon and scoop the seeds along with their surrounding jelly into a clean glass jar. Add 2-3 tablespoons of non-chlorinated water.
2
Ferment the Mixture
3-4 Days
2.Ferment the Mixture:3-4 Days.
Cover the jar with a breathable cloth or paper towel secured by a rubber band. Place it in a warm location out of direct sunlight. Stir it once a day. A thin layer of white mold will form on top—this is a sign that beneficial fungi are consuming the slippery gel coating.
3
Rinse and Decant
5 mins
3.Rinse and Decant:5 mins.
Fill the jar with warm water and stir thoroughly. The viable, heavy seeds will sink cleanly to the bottom, while unviable seeds, mold, and spent pulp will float to the top. Pour off the floating debris carefully. Repeat until only clean seeds remain at the bottom.
4
Dry Thoroughly
7-10 Days
4.Dry Thoroughly:7-10 Days.
Dump the clean seeds onto a flat ceramic plate, baking sheet, or piece of parchment paper. Avoid paper towels, as the damp seeds will stick to the fibers like glue. Spread them out in a single layer and let them dry completely in a well-ventilated room.
The Dry Processing Method (For Peppers)
Peppers are significantly simpler to handle because their seeds do not possess a wet gelatinous coating.
Simply cut around the stem of a fully ripe pepper, twist out the central seed core, and scrape the seeds directly onto a flat ceramic plate using a dull knife. Spread them out and let them air-dry for roughly 5 to 7 days.
Critical Safety Step: When harvesting seeds from hot peppers like jalapeños, serranos, or habaneros, always wear gloves. Capsaicin—the chemical compound that makes peppers spicy—concentrates heavily on the seed coats and central ribs. Touching your face or eyes after processing unprotected hot pepper seeds will cause severe chemical burns.
How to Test If Your Sourced Seeds Are Actually Alive
Before you commit your limited garden space, potting soil, and time to these harvested seeds, run a simple, zero-cost paper towel viability check to verify their germination power.
HTML
<div style="margin: 20px 0; padding: 15px; background: #fff; border: 1px solid #e5e7eb; border-radius: 8px; box-shadow: 0 1px 3px rgba(0,0,0,0.05); font-family: sans-serif;">
  <h5 style="margin: 0 0 12px 0; color: #1f2937; font-size: 1rem; font-weight: 600;">The 10-Seed Paper Towel Test</h5>
  <ol style="margin: 0; padding-left: 20px; color: #4b5563; font-size: 0.9rem; line-height: 1.5;">
    <li style="margin-bottom: 8px;">Dampen a clean paper towel with warm water (it should be moist like a wrung-out sponge, not dripping wet).</li>
    <li style="margin-bottom: 8px;">Place exactly <strong>10 harvested seeds</strong> in a straight line across one half of the towel, leaving space between them.</li>
    <li style="margin-bottom: 8px;">Fold the empty half of the paper towel over the seeds, slide it inside a clear sealable plastic zip bag, and place it in a warm room.</li>
    <li style="margin-bottom: 0;">Check the bag every two days. Within 7 to 14 days, count how many seeds have thrown out a white root. If 8 out of 10 sprout, your seed batch has an <strong>80% germination rate</strong>, making it perfectly ready for your garden.</li>
  </ol>
</div>
Transitioning From Kitchen Scraps to Productive Layouts
Once your harvested seeds pass the viability test, you do not need an expansive backyard plot to grow them. If your outdoor growing area is limited to a small porch, patio, or concrete walkway, you can transition your sprouted seeds seamlessly into container growing frameworks.
For instance, harvested tomato seeds thrive exceptionally well when moved into a five-gallon bucket balcony tomatoes layout, which provides the deep root space and stability required for heavy-feeding vine varieties.
Alternatively, if you lack outdoor space entirely, you can adapt your micro-growing setups indoors by learning how to turn a windowsill into a productive grocery shelf. This setup allows you to leverage natural interior sunlight to propagate your kitchen-sourced pepper and herb seeds all year round.
Cost-Savings Breakdown: Commercial vs. Propagated
To highlight why harvesting kitchen seeds outclasses purchasing standard commercial seed packets or pre-grown nursery starts, let’s break down the true expenses of a typical backyard setup:
| Gardening Asset | Commercial Seed Packets | Retail Nursery Starts | Sourced Kitchen Seeds Method |
|---|---|---|---|
| Initial Upfront Cost | $3.50 to $6.00 per individual packet | $4.00 to $9.00 per single young plant | $0.00 (Extracted directly from food scraps) |
| Volume of Seeds | 20 to 50 seeds per packet | 1 single established root system | Hundreds of seeds per single vegetable |
| Supply Chain Dependency | High (Subject to seasonal store shortages) | High (Requires direct transit and greenhouse availability) | Zero Dependency (Sourced directly from your kitchen) |
| Genetic Adaptability | Fixed (Bred for broad, generalized regional zones) | Low (Often suffers severe root shock upon transplantation) | High (Allows you to continuously save seeds from your best plants) |
| Financial Yield Retained | Lowered by material startup costs | Heavily reduced by initial nursery expenses | Maximum Net Savings retained from day one |
Frequently Asked Questions (FAQ)
Will seeds harvested from store-bought organic produce grow faster?
No. Organic certification regulates how the parent plant was grown (without synthetic fertilizers or chemical pesticides), but it does not alter the fundamental biological germination speed of the embryo inside the seed. However, organic produce is far less likely to be treated with post-harvest sprouting inhibitors, resulting in a significantly more dependable germination rate.
How long can I store grocery store seeds after drying them?
If they are dried completely and stored in an airtight glass jar or paper envelope placed in a cool, dark, and dry closet, most pepper, tomato, and melon seeds will remain highly viable for 2 to 4 years. Remember to drop a small food-safe silica gel packet into the container to absorb any latent ambient humidity.
Why did my grocery store squash seeds grow into bitter, unpalatable fruit?
This occurs due to cross-pollination. Squash varieties (like zucchini, pumpkins, and gourds) cross-pollinate incredibly easily via bees traveling across farm fields. If the parent squash flower was cross-pollinated by a nearby decorative gourd, the resulting seeds will carry those genetics, often yielding tough, bitter fruits containing high levels of cucurbitacin. Stick to self-pollinating crops like tomatoes and peppers to completely avoid this issue.
Can I plant fresh seeds directly out of the vegetable without drying them first?
Yes, for certain crops like peppers and melons, you can plant wet seeds directly into damp soil immediately after extracting them. However, they must be planted right away. If you leave wet seeds out on a counter without drying them thoroughly, ambient mold spores will quickly colonize the surface and destroy the internal embryo.
What should I do if my stored seeds develop a layer of white mold during storage?
If you notice mold forming inside your seed storage container, the seeds were not dry enough when you sealed them. Toss the molded batch out immediately. Moisture trapped within the container creates a breeding ground for rot, which kills the delicate seed embryo and prevents any chance of future germination.
Written By: Sharjeel Amir (Founder & Primary Tech Writer, Informix.Today)
Content Class: Sustainable Horticulture / Home Cost Reduction
Data Validation Currency: May 2026 Verification Drop
Legal Safe Harbor Disclaimer: Plant growth success rates depend heavily on localized environmental conditions, weather variations, soil compositions, and specific light exposures. Informix.Today does not guarantee individual crop yields or structural regional farming outcomes.