The 5-Gallon Bucket Method: How to Grow 15 Pounds of Tomatoes on a Tiny Balcony
Learn how to use cheap 5-gallon buckets to grow up to 15 pounds of fresh tomatoes on a small balcony. A simple, low-cost guide for small spaces.
⚡ The 60-Second Micro-Farm Blueprint
- The Core Concept: Utilizing standard 5-gallon hardware store buckets as high-yield vertical growing environments.
- Root Management: A deep soil column accommodates aggressive taproots, ensuring stable nutrient delivery.
- Zero-Budget Sourcing: Reclaimed plastic containers can be converted using basic manual drainage modifications.
- The Yield Target: Produces up to 15 pounds of harvest per bucket by managing plant architecture correctly.
- Critical Input: Lightweight potting mix optimized for aeration—never use standard backyard clay or dirt.
- Space Requirement: Needs less than 1.5 square feet of sunny exterior floor space per unit.
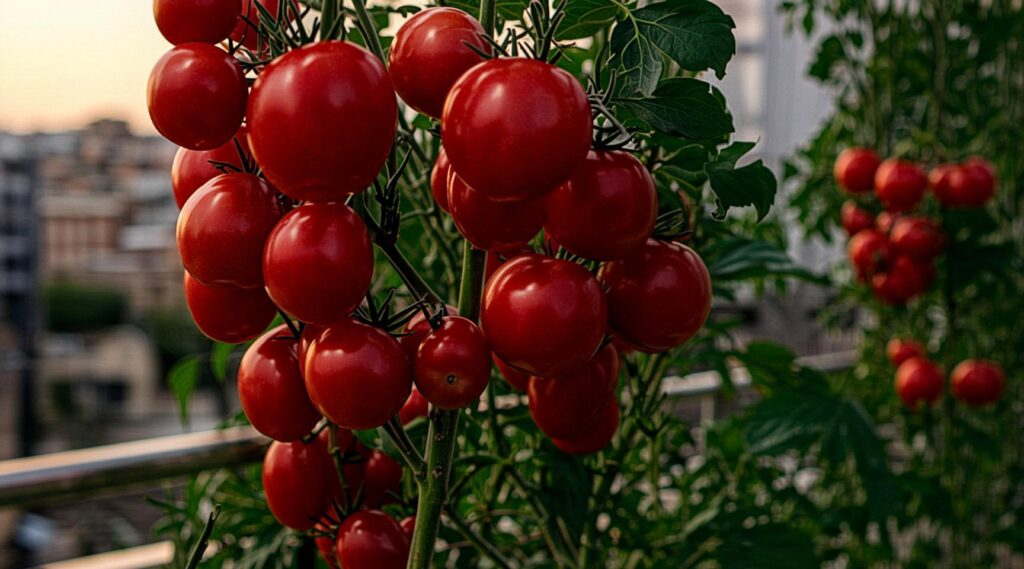
Fresh, vine-ripened tomatoes from the grocery store have become surprisingly expensive, and mass-produced varieties often lack that sweet, homegrown flavor. Unfortunately, most traditional gardening advice assumes you have a spacious backyard, raised garden beds, or thousands of dollars to invest in professional landscaping. For regular families living in apartments or rental homes with nothing but a small concrete balcony or a tiny patio, traditional farming methods simply aren’t an option.
The good news is that plants do not care how much your pottery costs. You can bypass expensive garden center planters entirely and build a high-yielding vertical micro-farm today using a standard, ultra-cheap household item: the humble 5-gallon utility bucket.
Direct Answer: The 5-Gallon Container Strategy
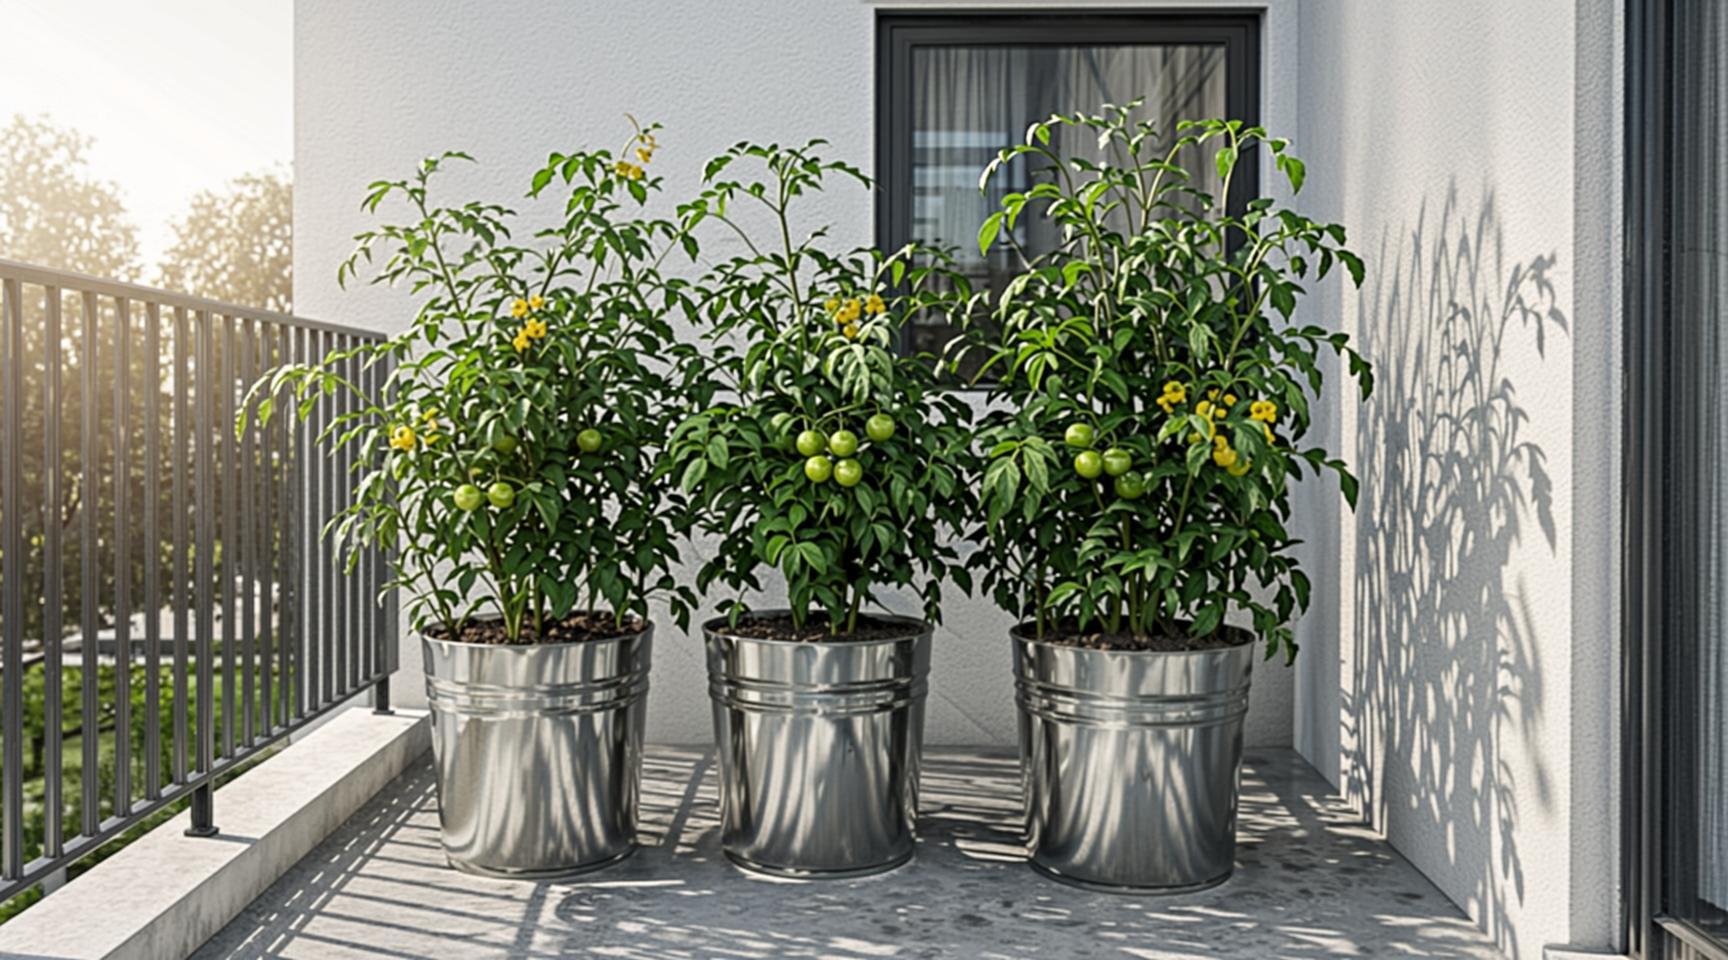
Can you really harvest 15 pounds of fresh tomatoes from a 5-gallon bucket? Yes. By drilling proper drainage paths into a standard 5-gallon plastic utility bucket, filling it with a highly aerated potting medium, and selecting space-efficient determinate or dwarf vine varieties, a tiny balcony can generate up to 15 pounds of continuous fresh produce per container without taking up precious floor space.
The Mechanical Logic of the Deep Soil Column
To understand why a 5-gallon bucket functions as an outstanding crop production environment, we have to look beneath the surface at root mechanics. Tomato plants possess aggressive, deep-diving root networks. When grown in shallow, wide window boxes or small decorative pots, the roots quickly become bound, causing the plant to suffer from stunted growth, blossom drop, and structural failure.
A standard 5-gallon utility bucket provides roughly 12 to 14 inches of vertical soil depth. This deep column allows the primary taproot to extend straight down, mimicking its natural underground environment.
This depth keeps the core root structure safely insulated from rapid temperature swings and ensures the soil retains moisture evenly. The vertical shape gives the plant a sturdy foundation to anchor itself, allowing it to support a heavy canopy of fruit without tipping over in high balcony winds.
Step-by-Step Container Conversion Guide
Transforming a basic hardware bucket into a high-production growing environment requires just a few minutes of simple preparation.
Step 1: Create the Drainage Network
Never put soil into a bucket without modifying the base first. Without drainage holes, water will pool at the bottom, rotting the root system within days. Use a hand drill with a 1/2-inch bit—or safely warm a thick metal nail over a flame using pliers—to create 5 to 6 uniform holes across the bottom ring of the bucket. Additionally, drill two drainage holes on the side walls, roughly 1 inch up from the base, to prevent water from pooling if the bucket sits flat on smooth concrete.
Step 2: Layer the Drainage Base
To keep the drainage holes from getting blocked by compacted mud, place a 1-inch layer of clean small stones, broken terracotta shards, or crushed plastic bottle caps at the bottom of the container. This creates an open underground chamber that allows excess water to escape freely.
Step 3: Mix the Growing Medium
Do not dig up raw dirt from a backyard or park. Native soil contains heavy clays that pack down tight inside plastic walls, choking off oxygen and stopping water flow. Instead, fill your container with a lightweight potting mix composed of peat moss, perlite, and compost.
[Top: Mulch Layer] -> [Middle: Lightweight Potting Mix + Compost] -> [Bottom: 1-Inch Stones]
Leave roughly 2 inches of open space below the top rim of the bucket to prevent water and soil from spilling over during heavy rainstorms.
Step 4: Plant Deep
When transferring your young tomato seedling into the container, bury it deeply. Pinch off the lowest set of leaves and place the plant into the soil so that up to two-thirds of the stem is completely buried. Tomato stems have the unique ability to grow brand-new roots directly from their buried bark. Planting deeply creates an exceptionally strong, robust root network right from the start.
Myth vs. Reality: A Frugal Gardening Reality Check
The online gardening world is full of over-complicated guidelines that make growing food seem more difficult than it actually is. Let’s look at the real facts behind these common internet half-truths:
- Myth 1: You must purchase expensive, brand-name organic fertilizers. You don’t need high-end liquids. Mixing simple, low-cost compost or recycled crushed eggshells into your potting mix provides plenty of structural calcium and basic nutrients to support healthy fruit production.
- Myth 2: Any tomato plant variety works perfectly in a bucket. Huge indeterminate varieties (like classic Beefsteak varieties) can outgrow a small container quickly, becoming unmanageable on a small balcony. For the best results in small spaces, look for “determinate” or “bush” varieties, such as Roma or patio cherry tomatoes.
- Myth 3: More water always equals more tomatoes. Overwatering is the number one cause of container failure. Watering too frequently washes out valuable nutrients and drowns the roots. Only water when the top two inches of soil feel completely dry to the touch.
The “It Depends” Hidden Realities
While container gardening is highly accessible, a balcony environment presents a few unique challenges you need to manage to keep your plants thriving:
- The Concrete Heat Island Effect: Balconies made of dark concrete or enclosed by glass railings can trap an immense amount of ambient heat during mid-day hours. If your balcony regularly goes above 95°F (35°C), the extreme heat can cause tomato blossoms to drop off before setting fruit. If things get too hot, move your buckets into a partially shaded corner during peak afternoon hours.
- Wind and Structural Hazards: High-rise apartments often experience strong, gusty wind patterns. Because a mature tomato plant acts like a sail, a gust of wind can easily tip a tall container over. Secure your bucket frames by placing a heavy brick at the base or tying the central support stake directly to your balcony railing for safety.
- The Weight Limit Check: Wet soil is heavy. A single 5-gallon bucket filled with damp potting mix weighs roughly 30 to 35 pounds. While a few buckets are perfectly safe for any standard balcony, avoid lining up dozens of containers along an older, cantilevered wooden rental deck without verifying its weight capacity first.
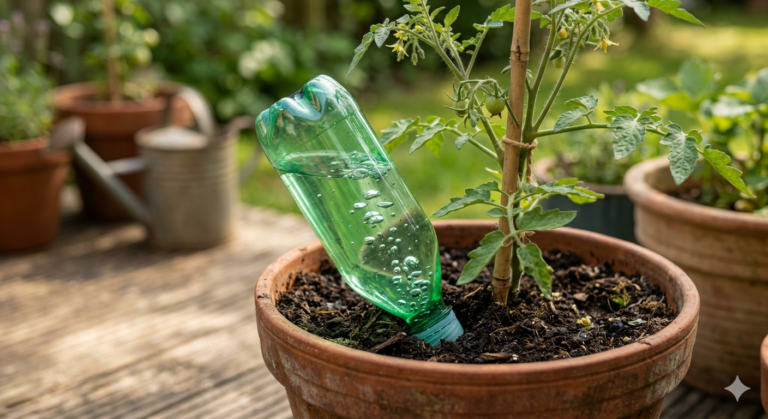
Advanced Optimization: The Self-Watering Sub-Irrigation Hack
Once you have mastered the basic container setup, you can take your efficiency to the next level by building a simple Sub-Irrigation System using a second bucket.
Consistent moisture is crucial for preventing blossom end rot—a common issue caused by alternating cycles of bone-dry and soaking-wet soil.
To build a self-watering setup, nest your primary drilled planting bucket inside a second, completely intact 5-gallon bucket. Place a small plastic yogurt container (with tiny holes poked in its sides) at the bottom of the outer bucket to act as a spacer platform. Cut a 1-inch wide PVC pipe or a hollow tube long enough to run from the top rim down into that bottom space.
This setup turns the bottom gap into a hidden water reservoir. You can pour water directly down the tube to fill the lower chamber, allowing the soil to wick up moisture from the bottom naturally. This keeps the root zone perfectly hydrated and reduces evaporation, saving you time and water.
The Cost-Saving Reality
To show how much this method can save you, let’s break down the actual expenses and returns for a typical small-space setup:
| Expense Factor | Traditional Raised Bed Setup | The 5-Gallon Bucket Method |
| Initial Material Cost | $120.00 – $250.00 (Lumber, specialized soil, large liners) | $3.00 – $7.00 (Utility bucket, simple drainage stone) |
| Floor Space Required | 32 Square Feet minimum | 1.5 Square Feet per bucket |
| Portability Factor | Fixed permanently in place | Fully portable (Easy to move if you relocate) |
| Estimated Seasonal Yield | 40 to 60 Pounds total | 15 Pounds per single container |
| Long-Term Utility Return | High upfront investment takes years to break even | Pays for itself entirely within the first 4 weeks of harvest |
By sourcing empty containers from local bakeries or hardware stores, you can get started for next to nothing. A single healthy plant can produce enough fresh tomatoes over the season to save you a noticeable amount on your grocery bills.
Frequently Asked Questions
Can I get free 5-gallon buckets instead of buying new ones?
Yes. Many local bakeries, restaurants, and construction sites go through dozens of food-grade buckets every week and often throw them into recycling bins. If you ask politely, many business owners will gladly give them to you for free, helping you keep your startup costs at absolute zero.
How many hours of direct sunlight do balcony tomatoes need?
Tomato plants need a minimum of 6 to 8 hours of direct sunlight every day to produce a heavy harvest. If your balcony faces north or is heavily shaded by neighboring buildings, your plants will still grow leaves, but they will produce far fewer flowers and fruit.
Do I need to worry about bees pollinating my balcony plants?
Tomatoes are self-pollinating, meaning each flower contains all the parts needed to set fruit. If your balcony doesn’t get many visiting bees, you can help things along by gently tapping or shaking the main stem for a couple of seconds once a day to help distribute the pollen naturally.
What should I do if the leaves start turning yellow at the bottom?
Yellowing lower leaves usually mean the soil is staying too wet, which chokes the root system. Let the soil dry out until the top two inches are completely dry before watering again, and double-check that your drainage holes aren’t blocked.
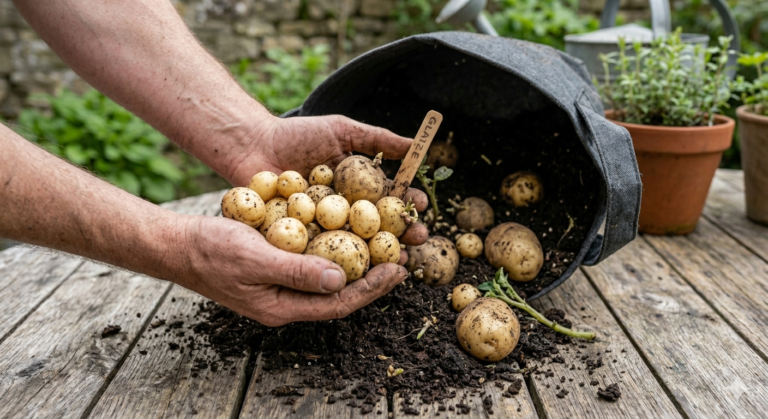
Can I grow other vegetables using this exact same bucket method?
Yes. The 5-gallon vertical shape is incredibly versatile. It works wonderfully for growing bell peppers, jalapenos, eggplants, bush beans, or a large mix of fresh green herbs right on your patio.
Written by Sharjeel — Founder, informix.today
Last Updated: May 2026
Disclaimer: This article is for informational purposes only and does not constitute professional financial or legal advice. Always test DIY hacks safely.