Stop Fridge Leaks Instantly With The Dollar Bill Test
earn how to use a single paper bill to find invisible cold air leaks in your refrigerator door. Lower your electric bill and save money with this 60-second trick.
The 60-Second Appliance Audit
- The Core Concept: Identifying invisible cold air leaks around your refrigerator door using a single paper bill.
- The Hidden Cost: A failed rubber gasket forces the compressor to run continuously, spiking your monthly electric bill.
- Zero-Cost Entry: Requires absolutely no tools, specialized equipment, or professional appliance mechanics to diagnose.
- The Savings Metric: Prevents premature appliance failure and can save up to $80 annually in wasted electricity and spoiled food.
- The Fix: Many failing seals do not need replacement; they just need deep cleaning and a quick heat-reshaping treatment.
- Execution Speed: Takes less than one minute to test the entire perimeter of both your fridge and freezer doors.
Every month, when the electric bill arrives, most of us wince. We diligently turn off the hallway lights, adjust the living room thermostat, and unplug idle electronics, but we often ignore the one massive appliance running 24 hours a day: the refrigerator. Because it sits quietly in the corner of the kitchen, we assume it is operating perfectly as long as our milk stays cold.
However, high inflation and rising utility rates mean we can no longer afford to ignore invisible household inefficiencies. One of the biggest silent money-drainers in a modern kitchen is a failing refrigerator door seal. When the rubber gasket around your fridge door degrades, warm kitchen air sneaks inside. Your compressor then has to work double-time to maintain safe temperatures, burning through electricity and shortening the lifespan of a very expensive machine. Fortunately, you don’t need to hire a costly appliance technician to find out if your fridge is leaking money. You can diagnose the problem in under a minute using nothing but a single paper bill from your wallet.
Direct Answer: Diagnosing the Leak
Does the dollar bill test really find refrigerator leaks? Yes. By closing your refrigerator door on a standard paper bill, you can instantly test the magnetic strength of the rubber gasket. If you pull the bill and it slides out easily with zero resistance, the seal is failing. This gap allows cold air to escape, forcing your compressor to overwork and driving up your monthly energy bill.
The Mechanics of a Failing Rubber Gasket
To understand why a piece of paper is such an effective diagnostic tool, you have to understand how refrigerator doors actually work. The door is lined with a flexible PVC rubber gasket that contains a thin, flexible magnetic strip inside. When the door swings shut, this magnet pulls tight against the metal cabinet of the fridge, creating an airtight lock that traps cold air inside and keeps warm, humid ambient air out.

Over time, three things happen to this gasket. First, sticky food spills—like maple syrup or juice—drip down the door and dry on the rubber, pulling and tearing the seal every time you yank the door open. Second, the rubber naturally dries out and becomes stiff, losing its flexibility. Finally, heavy items stored in the door bins (like gallon jugs of milk) can actually warp the door’s hinges over time, pulling the door slightly out of alignment so the magnet no longer makes full contact.
When the seal breaks, it isn’t just cold air escaping. Warm, humid kitchen air rushes into the fridge. When that moisture hits the freezing evaporator coils in the back of the fridge, it turns into frost. This forces the appliance to run long, energy-heavy “defrost cycles” multiple times a day, quietly skyrocketing your electric bill.
How to Perform the Test Properly
Testing your appliance takes less than sixty seconds. Here is the exact method to ensure you don’t miss a hidden gap:
- Get a Crisp Bill: Find a relatively crisp dollar bill (or any piece of paper of similar thickness and size). A crumpled or heavily worn bill won’t give you accurate tactile feedback.
- The Pinch Point: Open the fridge door, place the bill so that half of it is inside the fridge and half is sticking out, and let the door swing completely shut.
- The Pull Test: Gently pull the bill straight out toward you. You should feel a distinct, firm resistance. The bill might even drag slightly. If it slips out effortlessly, as if there is nothing holding it, that specific spot has a leak.
- Walk the Perimeter: Do not just test the side near the handle. The most common fail points are actually along the very top edge and the bottom corner near the floor. Repeat the test every six inches all the way around the fridge and the freezer doors.
Myth vs. Reality: An Appliance Reality Check
When homeowners discover a leaking fridge, they often panic and start browsing for a $1,500 replacement appliance. The internet is full of extreme advice regarding major appliances. Let’s look at the actual facts:
- Myth 1: A leaking seal means the fridge is broken and needs replacing. Reality: The rubber gasket is a cheap, consumable part, much like the tires on a car. Replacing a gasket costs roughly $40 to $70 and requires no special tools, saving you from buying a whole new appliance.
- Myth 2: You must hire a professional to change a door seal. Reality: Almost all modern refrigerator gaskets simply press into a groove on the door panel. You can literally pull the old one out with your fingers and press the new one into the track in about ten minutes, saving a $150 minimum service call fee.
- Myth 3: Only old, outdated refrigerators suffer from seal leaks. Reality: Brand new refrigerators often fail the dollar bill test within the first two years if children frequently hang on the open door or if the homeowner overloads the door bins with heavy glass bottles, which warps the hinges and pulls the factory seal away from the frame.
- Myth 4: If the seal is loose, you instantly need to buy a new one. Reality: Nine times out of ten, the seal is not actually broken. It is simply compressed or coated in microscopic, sticky kitchen grease. Cleaning it properly often restores the magnetic grip completely.
The “It Depends” Hidden Realities
While the dollar bill test is the gold standard for basic troubleshooting, it is not foolproof for every single appliance setup in your kitchen. Be aware of these edge cases where the test might mislead you:
- The French Door Flapper: If you have a modern French door refrigerator (two doors side-by-side on top), testing the outer edges isn’t enough. These fridges have a center “mullion” or flapper bar that folds out to create a seal between the two doors. This center strip is the most common place for leaks, and it is very difficult to test with a paper bill. You have to visually inspect it to ensure it is snapping flat when the left door closes.
- Bottom Pull-Out Freezers: Heavy bottom-drawer freezers rely on gravity and sliding tracks rather than swinging hinges. Over time, ice buildup or a stray frozen pea dropped behind the drawer can prevent it from closing that final millimeter. A dollar bill test might fail here, not because the gasket is bad, but because the drawer tracks need to be cleared of debris.
- The Flashlight Alternative: If you have a custom built-in fridge with heavy wooden cabinet panels attached to the doors, the dollar bill test might feel excessively tight due to the wood’s weight. For these, use the Flashlight Test: place a bright, running flashlight inside the fridge pointing toward the door, turn off the kitchen lights, and look for beams of light escaping through the dark edges.
Advanced Optimization: The Hair Dryer Hack
If you perform the test and find a spot where the bill slips out easily, do not immediately order a replacement part. Before spending any money, try the Thermal Reshaping Trick.
Over years of being pressed tightly against the frame, the PVC rubber can become permanently squished flat, losing its ability to reach out and grab the metal cabinet. You can easily fix this.
First, take a warm, soapy washcloth and scrub the entire rubber gasket, making sure to get deep into the accordion-like folds. Sticky residues are the number one enemy of a good seal.
Next, plug in a standard bathroom hair dryer. Turn it to a medium-high heat setting. Hold it about four inches away from the failing section of the gasket and move it back and forth for roughly 60 seconds.
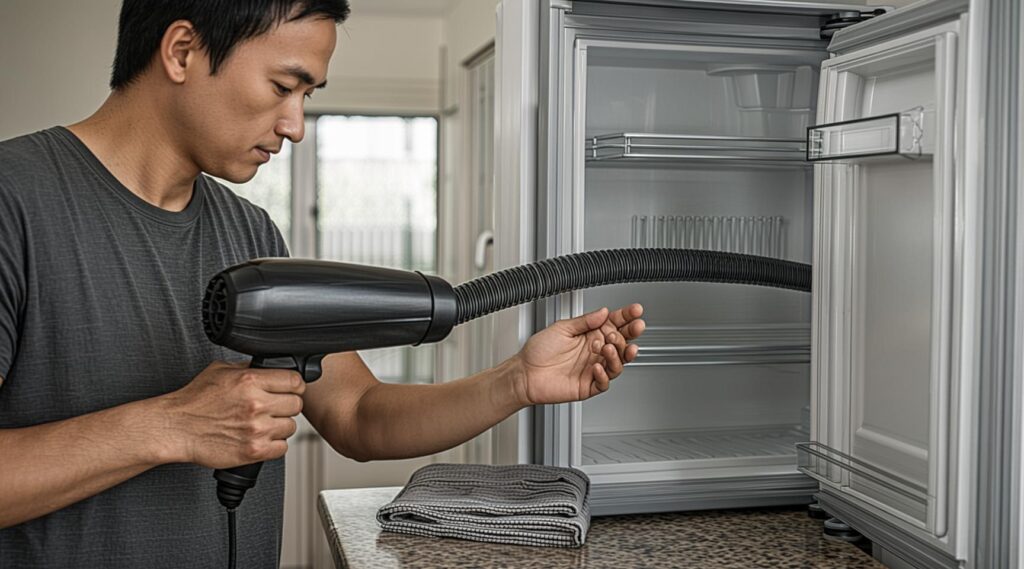
The heat softens the PVC rubber. As it softens, the internal magnet will naturally pull the rubber back into its original, expanded shape. While the rubber is still warm, close the door firmly and let it sit for ten minutes to cool and “set” into its newly expanded position. Finally, dab a tiny amount of petroleum jelly on a paper towel and rub it very lightly along the hinge-side of the gasket. This keeps the rubber supple and stops it from folding over on itself when the door swings shut.
The Cost-Saving Reality
To understand why this one-minute test is worth your time, look at the financial breakdown of a poorly sealed appliance versus a well-maintained one:
| Expense Factor | Leaking / Neglected Fridge Seal | Maintained / Sealed Fridge |
| Compressor Run Time | Runs 70% to 90% of the day | Runs roughly 30% to 40% of the day |
| Annual Electricity Cost | Adds $40 to $80 in wasted energy | Baseline normal usage |
| Food Spoilage Risk | High (Milk sours early, veggies wilt) | Low (Temperatures hold at a safe 37°F) |
| Appliance Lifespan | Compressor burns out 3-5 years early | Lasts the full 12-15 year expected life |
| Total Avoidable Costs | Hundreds of dollars over time | $0 (Regular cleaning and testing) |
By taking sixty seconds to walk a paper bill around your refrigerator door twice a year, you protect your monthly utility budget, keep your groceries fresh longer, and delay the massive expense of buying a brand new kitchen appliance.
Frequently Asked Questions
How do I know if I need to replace the seal or just clean it?
If the rubber has visible mold that won’t scrub off, is physically torn, cracked, or has pieces missing, it must be replaced. If it looks perfectly intact but just isn’t grabbing the metal tightly, the deep cleaning and hair dryer trick will usually fix it completely.
Where can I buy a replacement refrigerator gasket?
Avoid generic hardware store weather-stripping, as it lacks the internal magnet required for fridges. Open your fridge, locate the silver sticker on the inner wall with your specific model number, and type that number into a dedicated appliance parts website to order the exact factory-fit replacement.
Does a bad seal really ruin the food inside?
Yes. A leaking seal creates warm pockets inside the fridge, specifically in the door bins where people usually store milk and eggs. It also lets in humidity, which causes the internal thermostat to misread the environment, leading to uneven cooling and premature food spoilage.
Can I use the dollar bill test on my chest freezer in the garage?
Absolutely. Chest freezers are actually more prone to seal leaks because people tend to slam the heavy lids down, compressing the rubber. Because they are often stored in hot, un-air-conditioned garages, a leaking chest freezer seal will cause a massive spike in your electric bill as it fights the summer heat.
What temperature should my fridge be at once the seal is fixed?
According to the FDA, your refrigerator should be set at or just below 40°F (4°C), and your freezer should be at 0°F (-18°C). Once your seal is tight, the appliance will have no trouble maintaining these safe zones without running constantly.
Written by Sharjeel — Founder, informix.today
Last Updated: May 2026
Disclaimer: This article is for informational purposes only and does not constitute professional financial or legal advice. Always test DIY hacks safely. Unplug major appliances before attempting any internal mechanical repairs.